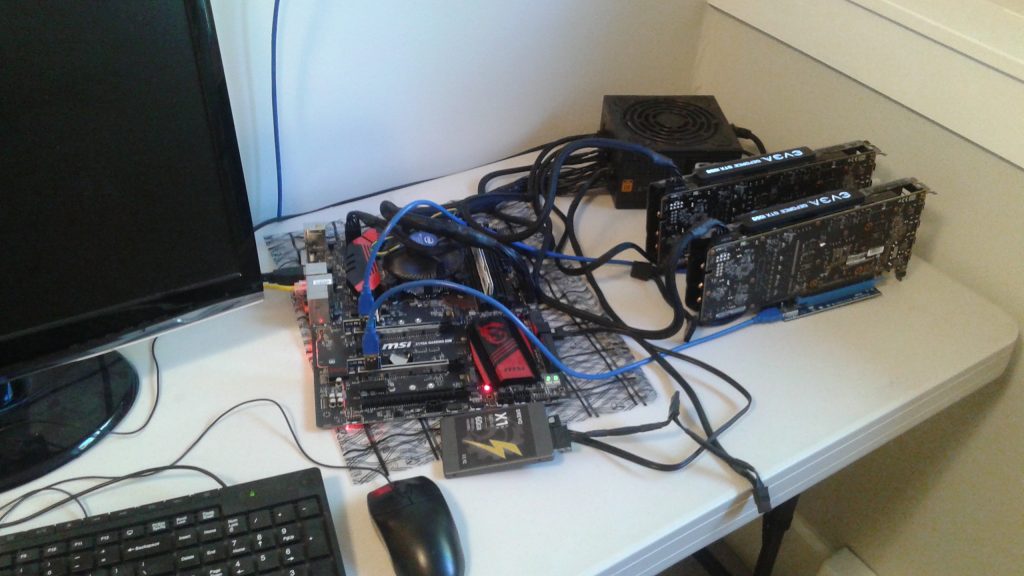
My ethereum GPU mining rig build has just been sitting sprawled out on a folding table in the corner of my office, until now. I had to move my rig for someone to come in and work on our furnace – and the table is in the way of them hauling the old furnace out and bringing the new furnace in. I don’t want anything to fall on $1100 of exposed computer components! Scroll down to the bottom for a list of things I would change and do differently next time.
I spent about $6 at Home Depot plus tax on two 8 foot long 1x2s and one 8 foot 2×2. I had some screws and zip ties laying around, so there was no other cost. There’s plenty of mining rig frames that can be found on Amazon, but the more you spend on a frame, the more it cuts into your ROI for your GPU mining rig profitability.
First, I measured my motherboard and noted where the screw holes are in the mining motherboard. They are approximately 10 inches apart and the board is about 12 inches long. In addition, my power supply is about 6×6 inches and around 4 inches high.
Armed with that information, I cut my wood. I cut 4 pieces of 1×2 about 20 inches long – long enough for my motherboard the narrow way (so that this could sit on a standard 12 inch deep shelf) plus the power supply beside it.

For the height of the legs, I cut 4 lengths of the 2×2 around 1 foot long. I’m not quite sure how I’ll mount the GPUs yet, but this should be more than long enough and I didn’t want to spend hours pre-planning the whole mining rig case – I’ll plan and build as I go. I’m not looking for prettiness points, just something sturdy and functional for my mining GPUs.
The next step was to shut my GPU mining rig down before I started touching and moving stuff around.
I shut down via the windows start menu, then switched off the power supply and unplugged it from the wall and the network.
Then I lined up my support pieces underneath the motherboard, and BY HAND, I slowly twisted some screws in to hold the motherboard in place. I’m just using wood screws and I’m only putting them in far enough to bite – so that the motherboard won’t fall off the frame, but also not tight enough to keep the board from moving if the frame flexes at all while I’m assembling it.
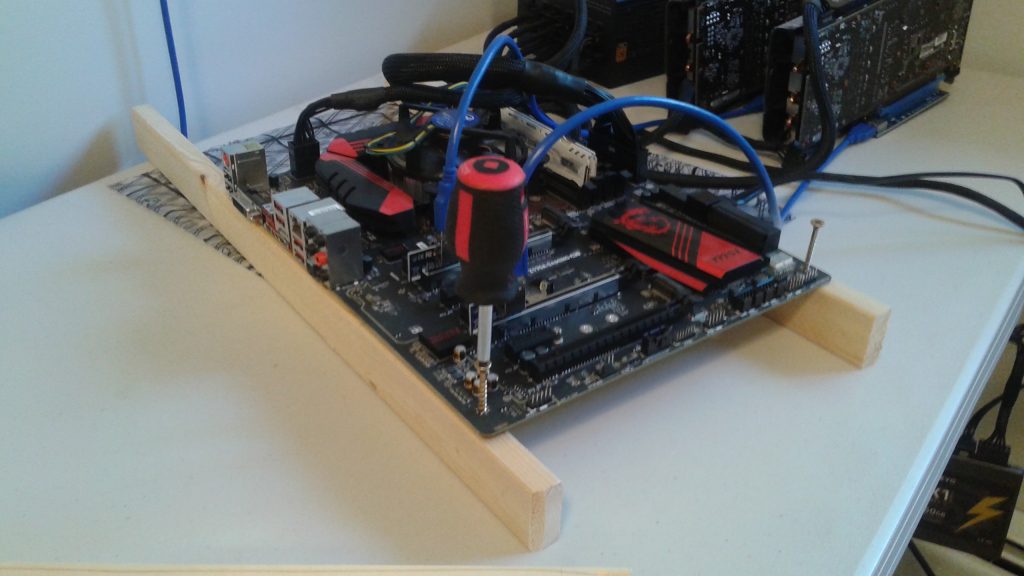
Next, I connected the 2 legs on the motherboard size of the mining rig frame. For wood to wood connections I used a power drill to speed things up. I raised up the motherboard cross supports to provide air underneath from all sides in case this rig lives on a solid surface.
I attached the other two legs on the other end. Now that I know how far apart the frame legs are, I measured and cut 2 more pieces of 1×2 that are 10 1/2 inches long.
I attached the cross pieces. On the end where the power supply will go, I put the cross piece on the inside of the legs as it will also support the power supply. I cut a third piece of 1×2 10 and a 1/2 inches long to support the other side of the power supply. and mounted it onto the 2 long cross pieces wide apart enough to support the GPU mining power supply.
[ if I cared, I could have taken the extra time to pre drill the wood to keep it from splitting, but they aren’t split all the way through and still plenty strong for what I need it to do. I was hoping the wood was fresh enough, but I was putting screws too close to the ends of the wood. ]
Before I went any farther I decided to add some more screws to hold the motherboard in place (all of the available holes along the 2 wooden supports) and I zip tied the power supply onto it’s supports.
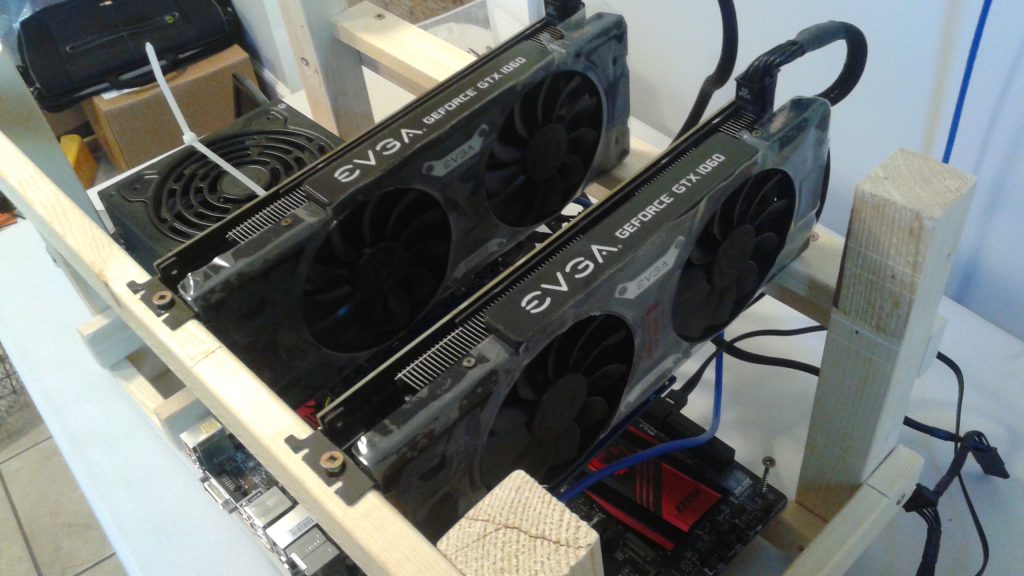
Then I mounted the cross support that will hold the front of the GPUs from the metal bracket. Since my GPUs are full length (not ‘minis’) when I screwed my other long support piece behind the back legs, they were too far back and weren’t supporting the rear of the GPUs.
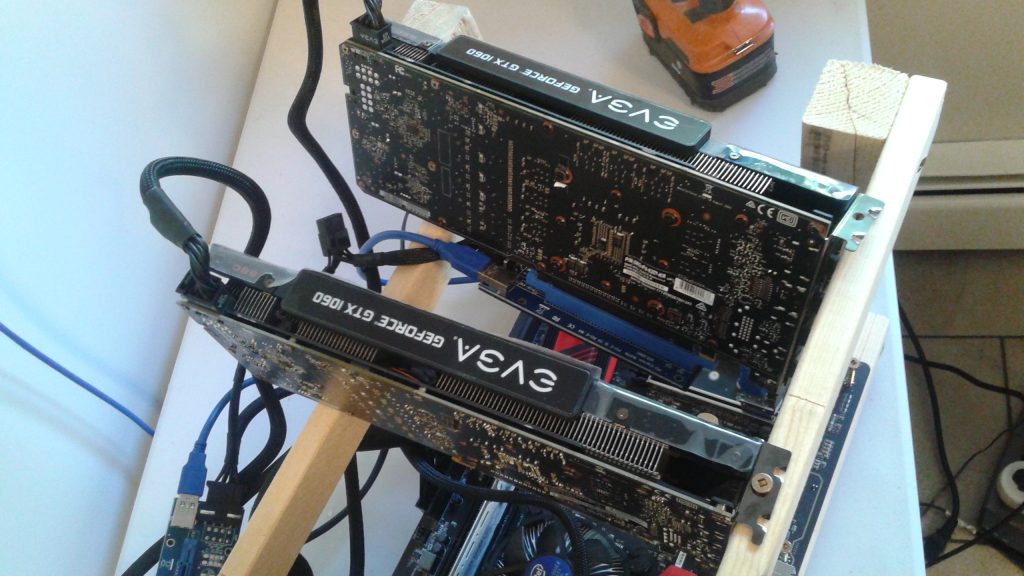

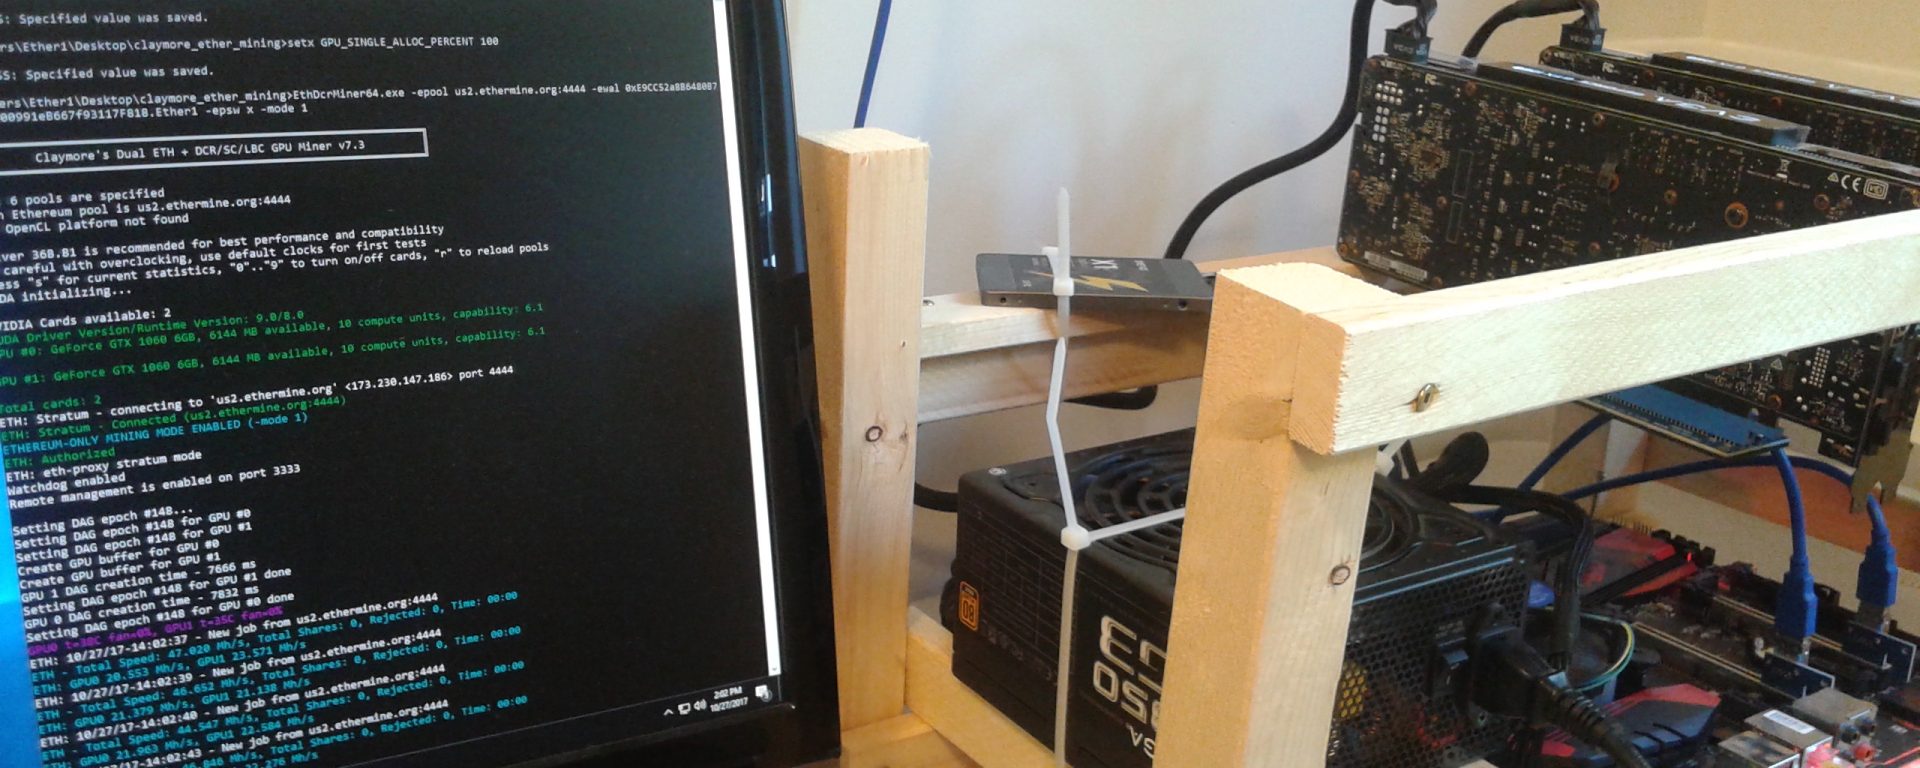
I had to remove some of the HDMI plugs from my mining GPUs in order to get them to sit flush with the front wood crosspiece, and then I just had to figure out the best way to route the GPU CPIe riser cables without having them interfere with anything.

I strapped the hard drive wherever it seemed convenient, and then I plugged everything back in and booted it up. Success! 46 mH/s on Ethash, just like before I touched everything.
There was some leftover pieces of 1×2 so I cut the ends at 45 degree angles and put them as cross braces on the ends of the frame for some extra stability.
Things I would keep in mind, or change for next time:
- Depending on how many GPUs you want to mount, you may need to make your frame longer. I only have 2 GPUs right now and this will fit 4 or 5 with lots of airflow.
- I might care to take a few minutes longer and predrill the wood to prevent splitting
- Watch out for the cooling fins on the side of the GPUs – they’re sharp (don’t ask me how I know, I don’t want to talk about it 🙂 )

Nice work you have done.. esp mounting and screwing in the motherboard, which many people ignore. I would like to ask
1) Full specific measuremenrs esp for 6gpu frame
2) All parts I will need esp e.g any special screws for screwing in motherboard,
3) Any important notes/factors ishould consider
Thanks
The screws I used are just standard wood screws – I didn’t screw them in all the way, just enough to hold the motherboard from sliding side-to-side.
If you wanted to, I’m sure you could spend money on a specific motherboard screw, but likely those are metal screws and not made to screw into wood.
As for dimensions, I just put the cross pieces far enough apart that the motherboard would fix, so this may vary depending on which direction you mount your motherboard (and somewhat based on motherboard although there are standard dimensions. The custom mining motherboards might be different sizes).
Consider: I didn’t spend much time determining the overall height I would need, and it turns out it’s a little short. The GPU over my power supply is so close it is resting on the PSU – the riser card is resting on the top of the PSU case – so that blocks a little bit of cooling ability for the power supply. However, I’m not worried as the PSU is always cold.
To fix this, you could make your vertical pieces longer than the 12 inches I did, or another option is that I could change the cross pieces that support the PSU to something not quite as tall. They are 1×2 mounted the tall way (so 1.5 inches height). It also depends on your power supply as I imagine some of the bigger ones, like the 1200W and 1600W ones are taller?
Sorry, but i dont get it. You buy hardware for a couple thousands of euros or dollars and then you build a frame for 6 bucks ? My Advice is to get a perfect frame that will fit to your hardware needs.
You can spend money on a fancy aluminum mining rig frame, but it’s all cutting into your profit. It’s similar to how so many small businesses that fail have beautiful business cards and fancy websites – who cares if you can’t make sales and make profit!?
As we like to say in Texas, all hat and no cattle. Who cares what it looks like, just that it performs correctly, which I’m sure it does. I am looking into building one myself, so I appreciate the step-by-step instructions as well as what you would do differently next time.
Haha, thanks for that! All hat and no cattle – my GPU mining rig is all cattle, and no hat!
If it doesn’t cut into mining efficiency I say save money where you can!
There are only 2 1060’s and you are talking about thousand euros? 200 USD tops. And you want him to spent 300USD on an aluminum frame. Please get real.
From what I can tell, these wooden frames are perfectly safe. It’s funny that a person thinks you need to spend more for looks whilst not considering whether a wooden frame is okay from a fire-hazard perspective. My only concern is whether or not it’s safe in the event of a fire. Am surprised the fire-safety of rigs isn’t talked about more often — this is perhaps because very few actually catch on fire. I sit around visualizing a wooden based rig on fire vs. a metal based rig, will probably make a hybrid if I don’t use all metal parts.
It takes a lot of heat (a LOT) to ignite wood. Likely by that point a card itself is on fire. So I think the fire hazard risk is quite minimal.
OTH wood is non conductive and therefore a quite good material to be mounting “naked” electronics to. Better than conductive aluminum I’d say.